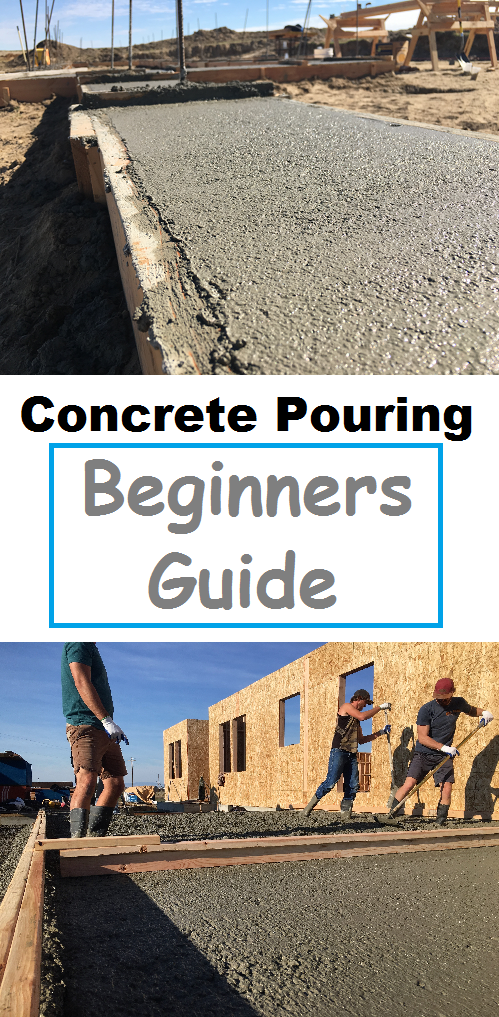
Owner-building: pouring your own foundation walls
Just a few short months ago, before I had any first hand experience, pouring concrete scared the bajeezers out of me. Yep, I just said bajeezers. There is no way I would have even experimented with the stuff, let alone pour our foundation.
Fast forward a few months, and concrete pouring now has a special place in my heart. Sound cheesy? Maybe so. But it’s true. It has a special place because I got to be a part of the actual creating of our forever home’s foundation.
IT WAS AWESOME!!
I look at that concrete wall now, and it actually means something. It brings back memories, thoughts, and excitement. All from a stupid rock wall for crying out loud.
So maybe you are sitting where I was a few months ago. Maybe you are considering owner-building, but all of this “serious stuff” scares the bajeezers out of you. Yes, you have bajeezers too! Everyone does, don’t make it weird.
Well I have made it my mission, to help people like Farmer and I, who desperately want to build a home, but can’t make it happen unless they can figure out how to save some serious moolah. And I am here to tell you that a very real and possible way to do that is to do it yourself.
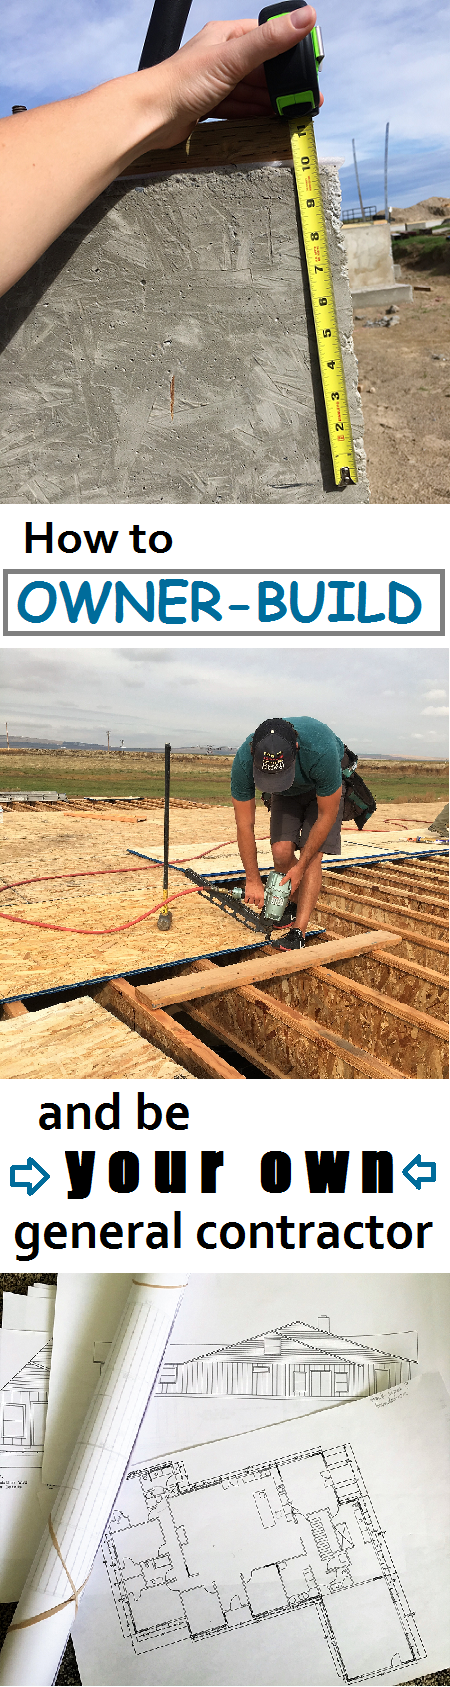
Now you need to know, that DOES NOT mean that you have to build the walls yourself, shingle the roof, put in the cabinets, or even paint a single thing. To save serious money, in our case around $200,000, you just need to be an owner-builder. Be your own general contractor. Make the calls, do the hiring, and organize everything.
So when I talk about how to pour your own foundation, remember that I am sharing our own personal experience of building our own home. Some of the things we did ourselves, some of the things we did alongside the professionals, and some of the things we hired out completely. But everything we did, we researched the heck out of, until we knew we had the best person for the job. It worked for us, it can work for you too. Who knows, you might even get to stand next to a concrete wall, and cry your eyes out because you love it so much.
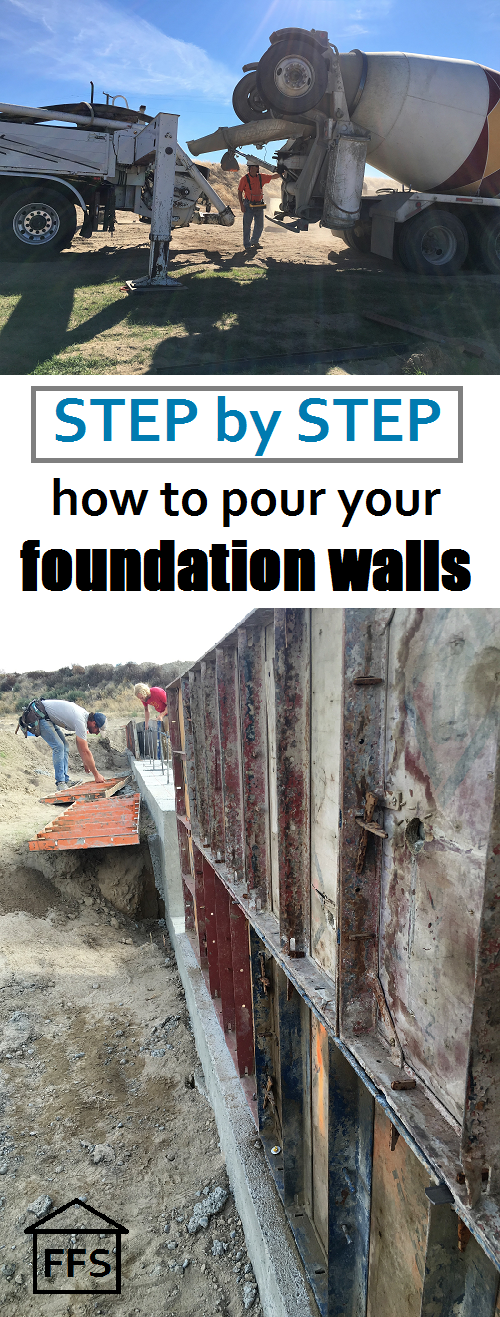
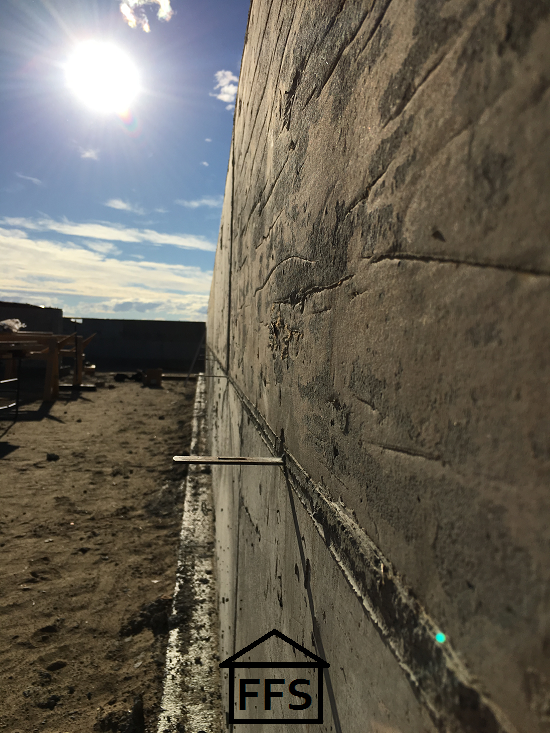
So today, I am going to tell you ALL about that concrete wall, also known as “the stem wall”.
Farmer and I got to work alongside professionals (Josh and Matt) on this particular job. We helped pour the footings the week before, and I was itching to be a part of this next step. A lot of that had to do with the fact that we were using a pump truck this time. Pump trucks are super cool guys. I talked all about them in Step 16, if you need to go back and check it out. Reading that will also help you know if you need a pump truck for your house or if a standard cement truck will work.
So on pour day, we had everything there all ready to go. We had our tools, we had plenty of helpers, and we had already scheduled both the cement truck and the pump truck for right around lunch time. We took an early lunch so wouldn’t all be starving, and I dropped the kiddos off at grandma’s house so I could help.
We had six helpers. Farmer, his brother, and myself who all had very little experience with concrete and no experience with a pump truck. Then we had Josh, Matt, and my brother Drew who are all construction workers down in Utah and have experience with concrete.
As we waited for the trucks to show up, we put up more 2×4’s to reinforce the walls. Our stem walls on one half of the house are 4 feet tall. Those babies needed a lot of support to hold the weight of the wet mud.
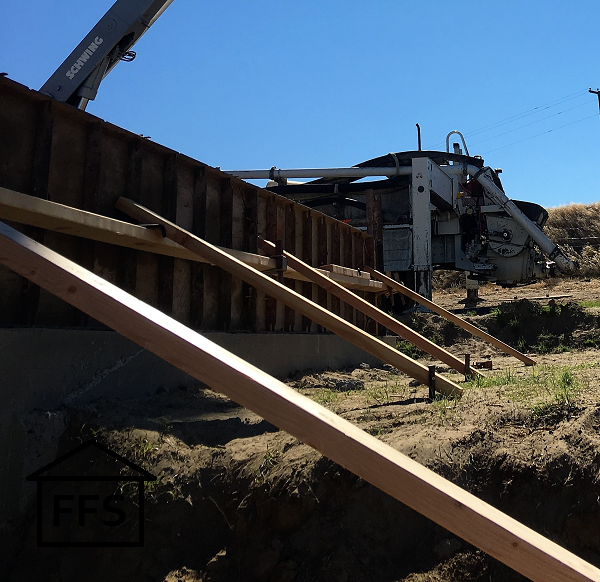
The pump truck showed up first. They planned to show up half an hour before the cement truck so they could set up.
Pump trucks are crazy pieces of machinery. I married a Farmer, I drive tractors and semi-trucks, and even still, the pump truck made me stop in amazement. It reminded me of a spider as I watched it stretch out it’s support legs. Ever seen Transformers? These things are real life transformers. The four legs move out away from the truck, and then push down into the dirt to support the weight of the giant arm. Then slowly, the HUGE arm unfolds itself straight up into the sky.
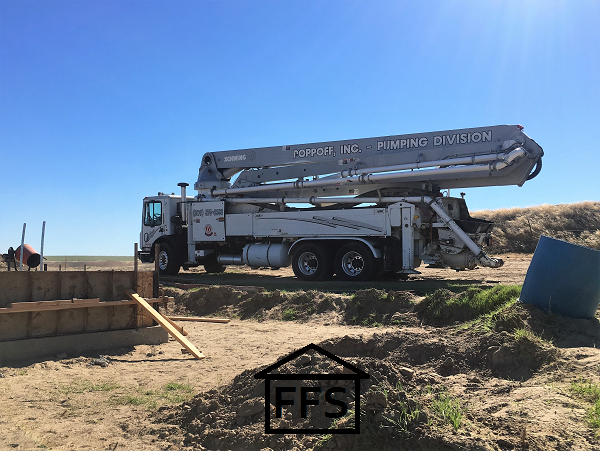
This particular pump truck had an 80 foot reach. Yeah, you read that right. And it was the MEDIUM size truck, so I hear. It was easily able to reach every corner of our nearly 5,000 square foot foundation rectangle, without moving the truck.
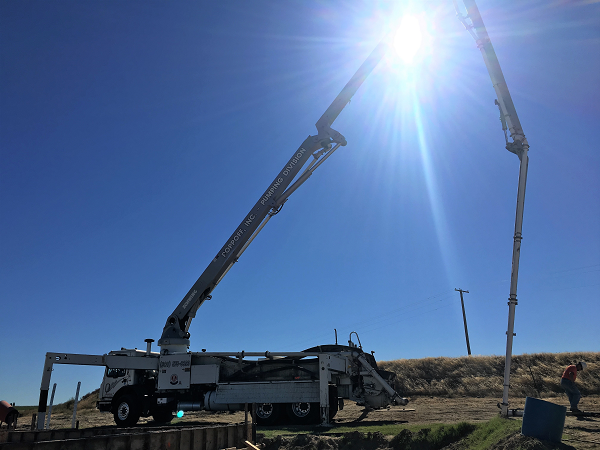
The best part is that the hose drops the cement down right where you want it, with a little video game controller. Don’t worry, the pump truck guy does all the controlling so you don’t have to worry about it.
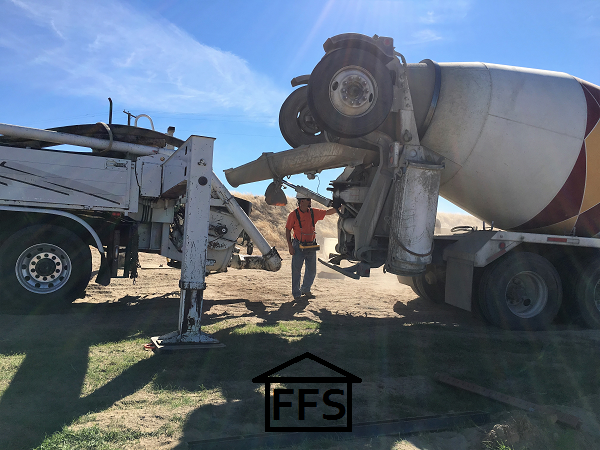
So the pump truck parks itself firmly into the ground, and then unfolds it’s massive arm. The cement truck then pulls right up to it, and dumps the wet mud right into the back of the pump truck. The cement is pumped way up into the arm of the pump truck, and then dropped exactly where you need the cement. It’s crazy! and it’s brilliant!
Can I just pause for a moment and recognize that the pump truck company I found only charged me $650 for all this! Shout out to Poppoff Inc out of Yakima, WA who beat out everyone else’s price. Please call them if you ever need a pump truck. Oh yeah, they had to drive four hours round trip too. THAT is why I tell you guys to call companies from all over the place. There is no rule that says you have to hire local. The cheapest companies might be the farthest away.
So anyways, back to the arachnid. The pump truck showed up early so they could have plenty of time to set up before the cement showed up. Well, once he got set up, I called the cement company to check up and guess what .. they were running late.
The poor pump truck had to wait almost two hours before the cement truck showed up. However, they didn’t make me pay any waiting fees because … remember why? …. I let the two companies schedule with each other instead of me being the middle man. Poppoff Inc didn’t hold me responsible for them having to sit there, so no additional fees were tacked on my bill thank goodness.
It was actually a blessing that they were late because we spent the extra time adding more supports to the forms. The pump truck operator walked around to inspect everything (another reason I was super impressed with Poppoff Inc.) and pointed out that we needed more supports in places. It’s a dang good thing he did that, because we actually had a few walls “buckle” while we were pouring. What that means is some of the forms popped out kind of like a jar unsealing when you open it for the first time. They didn’t break out, but they flexed a little showing they were very stressed. If the guy hadn’t of pointed out our weak spots, they may have broken out while we were pouring.
So when the cement truck finally showed up, he was very quick. He backed right up to the pump truck, which was already 100% ready to go, and started pouring into the back of it.
Josh started out on top of the cement forms and holding the hose from the pump truck firmly in place. Now I didn’t get a chance to do this part myself, but I am glad I didn’t. This looked like really tough stuff physically, holding onto that hose. He had to balance on top of the cement forms, 4 feet in the air, while directing the hose to shoot into the forms. The pump truck operator was controlling where the arm goes, and he was doing a great job, but Josh still had to hold it firm and still while walking along the top of the wall.
He started out walking backwards with it so he didn’t have to step where it had already been poured, but the pump truck operator stopped him and told him it’s much easier and safer to walk behind it even though you are walking in a little cement. That seemed to make the job a little easier.
It took a little getting used to it, but after a few minutes Josh made it look easy. He traded out half way through, and let my brother Drew finish up. They both agreed it was very physical work man-handling that thing.
So if I may back up a little bit … to start off the pouring, we began in a corner. It’s a little tricky to start and stop the pump truck hose because of how large it is. When you turn it off, quite a bit still drains out before it stops coming. Then, you have to kink it like a garden hose if you don’t want it to keep dripping. If you begin in a corner, then you can move out from there and continue around the foundation.
If you are pouring a wall that is rather tall, you won’t want to pour the whole thing at once. Our two foot tall walls were fine, but the four foot walls needed to be poured a little at a time. If we had tried to fill all four feet with wet concrete at once, the walls would have had a much greater chance of breaking out and creating a concrete disaster. To avoid this, we just filled the walls up half way the first time around. It doesn’t need to be exact, just fill them up about to the half way mark.
By the time you work your way around the whole foundation once, the cement you poured first will have had 1/2 hour – an hour to set up a little bit and not be creating so much stress on your forms. You can then just run around the foundation a second time and fill everything the rest of the way up.
You do need to be a little careful of how long it is in between layers. If you wait more than about two or three hours to pour the second layer, your cement may have dried too much and you will have a definite “crack” in your foundation. You don’t want that because it is a weakness in the wall that will be holding up your house. Please discuss this with a professional (remember, I am not a professional) in your own area. Big factors effecting the curing of cement are weather, dirt, humidity, and other things that are different depending on where you live. The drying time will depend a lot on the weather and the humidity that day and the days following.
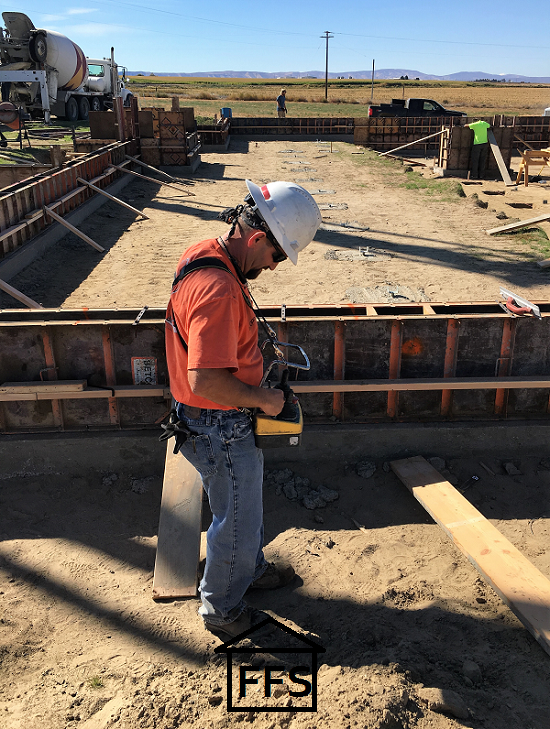
Once you get to the part where you are filling walls up with cement, then your other helpers are needed. You need 1 or 2 people to follow behind and work the cement. They will need to vibrate the walls somehow to get the cement to settle so the air bubbles can work their way out. They have a specific tool for this called a vibrator, but you can also just use something to hit the wall with and jiggle everything around.
We used a sledge hammer to tap all over the wall. This worked fine, but was really tiring for whoever had to do that job.
Along with vibrating the wall, you need to work the top of the cement to begin leveling it out. We didn’t have enough mags for everyone there to have one, so some people were using their hands (it’s a good idea to use gloves) just to work the cement around. You will need to kind of push the cement down and around the vents, and you will probably need to move some high spots of cement over to some low spots. We had buckets available to scoop extra cement into so we were able to dump them into any low spots.
You will need to use a screed to work the cement around a little and then to scrape it off level. Just like with our footings, we used a 2×4 board as a screed and it worked just fine.
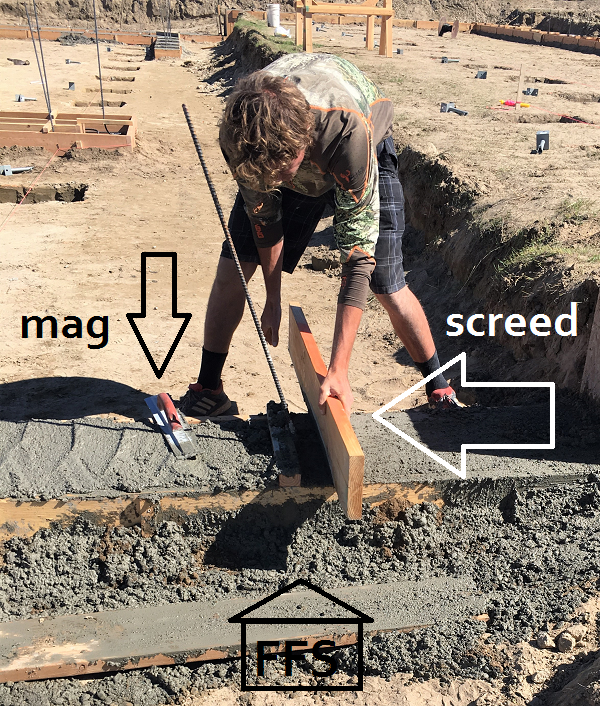
Behind those guys, you will need some finishers. These helpers will need mags for sure. They need to smooth out the top of the cement really nicely. They will need a bucket or two of water to rinse their mags in every once in awhile. Pay extra attention to the spots that have a connecter across the top, or anything keeping you from smoothing everything out nicely. It can get annoying, but you want to smooth the cement out as nicely as you can even in really hard to get to spots. You will be placing a board directly on top of this wall later on, so the more smooth and perfectly flat it is, the better.
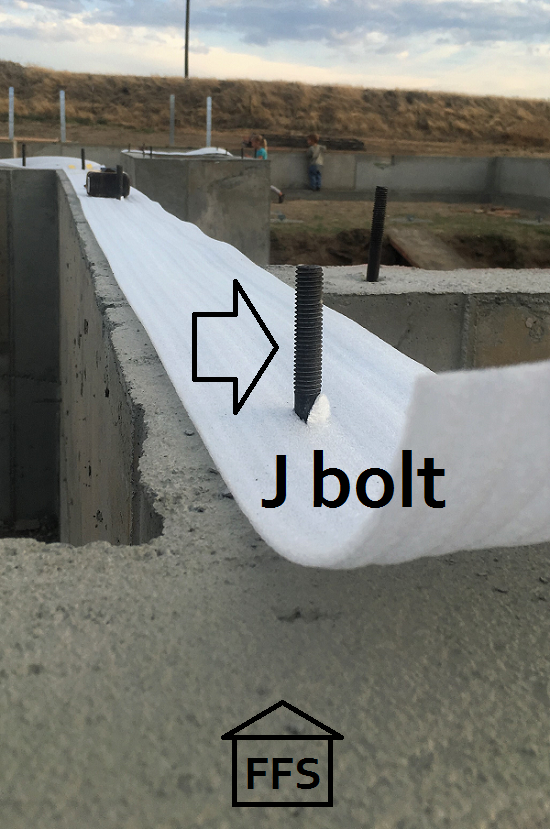
After you have worked the cement, and then finished it nice and smooth, you will need to watch it very closely as it dries. It doesn’t take very long for the mud to get to a consistency that will support the J bolts or whatever else you need to be placing in the top to connect your floor boards to.
It was only about 20 minutes behind the finishers that we were placing our J bolts into the wet cement. It just needs to be firm enough to hold the bolt in place without sinking.
To set a J bolt in, just work it down into the wet mud. Move it slowly and gently so you don’t create a big hole in the smoothed out cement. The bolt should stick out enough to set a 3/4 inch green plate (board) over the top and be able to twist on the nut and synch it down. That’s about and inch and a half to 2 inches in our case. Check your blue prints for your houses measurements.
Then just let go and make sure it doesn’t sink at all. If it holds still, the cement will dry nicely around it, and you will have something to hook your floor to.
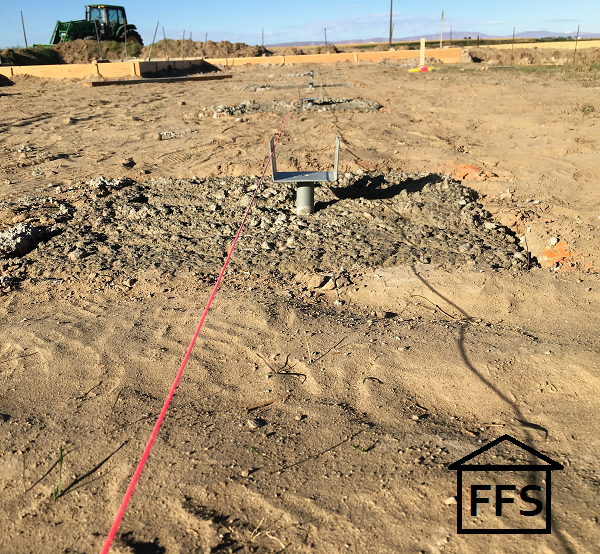
As for our spot footings, we just used the pump truck to easily fill each hole with cement. We didn’t even need to smooth out the tops of these because nothing would be sitting directly on top of them. We already had our string line ran so we knew where our line of post holders needed to go.
Then, just like the J bolts, after a few minutes we set the post holders into the cement. We followed the string line so we knew exactly where to set them, and how deep into the cement they needed to go. We used a tiny level to make sure the post holders were sitting flat.
And that was it! It took three cement trucks, and about three hours to finish our stem walls and our spot footings. We had everything smoothed out, and we had the J bolts and the post holders in place. We were short on J bolts unfortunately. I had even gone to get extra because the materials company we used for the first few weeks had been shorting us on everything. Apparently they shorted us even more than I anticipated.
In hindsight, I should have gone through the plans and specifically counted the amount of J bolts we needed, but I was hoping our takeoff would have been more accurate. Thankfully, we were able to use a hammer drill and a different kind of bolt later on where we didn’t have J bolts. It was a huge pain though, and cost us more money, so learn from my mistake and always double check the numbers when you order something.
After everything is successfully poured, and all of your “extra” things are set (J bolts, post holders, etc.) be sure to wash everything thoroughly while it’s still wet mud. Cement destroys things if it’s left on to dry. Shovels, wheelbarrows, mags, shoes, gloves, and anything else you used will be ruined if you don’t clean them really well. This is why a cement truck will never leave your property without first cleaning everything out.
Your hands will probably be pretty raw at this point, depending on what your job was. Mine were pink for a day or two. I was also real sore in the shoulder area from working the cement with my hands and a mag.
So here are the final numbers for our roughly 5,000 square foot foundation stem walls:
People needed: we had 3 experienced cement guys, 3 in-experienced helpers, 1 pump truck operator, and 1 cement truck operator.
For the first little while, everyone will be standing around watching whoever is maneuvering the pump truck hose. Once the walls start filling up though, we used every single person for about two straight hours. Our numbers were fine, but I wouldn’t have minded having 1 or 2 more people.
We got a little behind at one point and had to spray water on the wall near the end because it was getting too dry to smooth out. Drying cement (before it’s ready) is a SCARY thing.
Time: 5 hours from the time the pump truck showed up to the time we finished up
Expenses:
Concrete Prep:
**I talked about this stuff in Step 16, but including the expenses here so you can see it all together**
Concrete form rental …………………………………………….$500.00
Form ties …………………………………………………………….$226.59
2×4 supports…………………………………………………………$519.00
Labor (5 days)……………………………………………………….$1920.00
Pour day:
Pump Truck …………………………………………………………$730.30 after tax
Cement (30 yards)…………………………………………………$3382.68
Tools ……………………………………………………………………$0 (Everything we already had for the footings)
J bolts, strong ties, post holders, other materials ……..$392.01
Labor (1 day)…………………………………………………………$672.00
Total ……………………………………………………………………..$8342.58
What would I do differently, if we did it over again?
I loved being a part of the cement pouring. I would do it over again in a heart beat. However, I was really glad we had some professionals there. There were a few moments that were a little intense because concrete is a serious thing.
If we ever built again, I think we would do this part ourselves, but we would have a foundation professional come out and “inspect” the forms and the supports before pour day. The actual concrete pouring part no longer scares me at all. Smoothing out concrete is a simple thing in my opinion. It’s all the prep work that needs to be perfect before hand. If someone came out the day before pour day and looked over everything and said we were good to go, I wouldn’t hesitate to handle pour day ourselves. (with several extra helpers of course).
That being said, foundations are arguably the most important part to get right on a house. I mean, you could really argue that any part of a house done incorrectly would be a bad thing, but the foundation is what holds everything else up. If it fails, quite frankly it doesn’t matter what the rest of your house looks like.
Do extra homework if you plan on doing the foundation yourself. Can it be done with out the professionals? Absolutely! But you NEED to know what you are doing before hand, and you need to know the risks you are taking.
I hope I didn’t scare you, but building your house on a solid foundation is not something to take lightly.
We approached it with a mix. We had a couple of guys who had experience with concrete, and then a few helpers that had no idea what they were doing. It turned out great, and we saved a bunch of money. You can do it too!
The last thing we need to talk about is how much money Farmer and I were able to save on this portion of our house. In case you are new here, you should know that Farmer and I are trying to build our dream home that was quoted at 1/2 million dollars for $300,000. In order to reach that goal, we need to save money on every single step we take. It’s going great so far. We have saved over $75,000 at this point (As I am writing this post, we are currently working on plumbing and electrical) and I am confident we can still meet our goal.
The last 5 steps have all been about working on our foundation. From footing forms, clear to pouring our stem wall, here is how we have saved:
- When we built our footing forms we used 2×8 lumber instead of manufactured forms. One of the big reasons we chose to do that was because the 2×8’s could be re-used later on in our build. We did in fact use all of them later, mostly in our roof and trusses. This saved us $550.
- Because of the way I hire, I found a company that was willing to beat out everyone’s prices on rebar and the other materials we needed, AND give me free delivery. This saved us around $300.
- We have worked very hard to borrow as many tools as we can instead of renting or buying. We live in a farming community, so if we look hard enough we are able to find just about anything we may need. I estimate this has saved us well over $500 between the saws, wheel barrows, mini concrete mixer, thumper, and many other small ones.
- We saved around $400 on cement, again because of the way I hire.
- We rented our concrete forms from a friend. The total came out to half of what the form company was charging. We saved $500.
- The 2×4’s we used to support our forms were re-used later on in the walls and trusses, saving us $519.
- Elite Hire helped us out once again when we hired a pump truck. They beat out the competitors pricing and saved us just over $200.
- And last, but not least, we provided hours of our own labor so we didn’t have to hire a full crew. The labor Farmer and I put in, saved us around $1,100
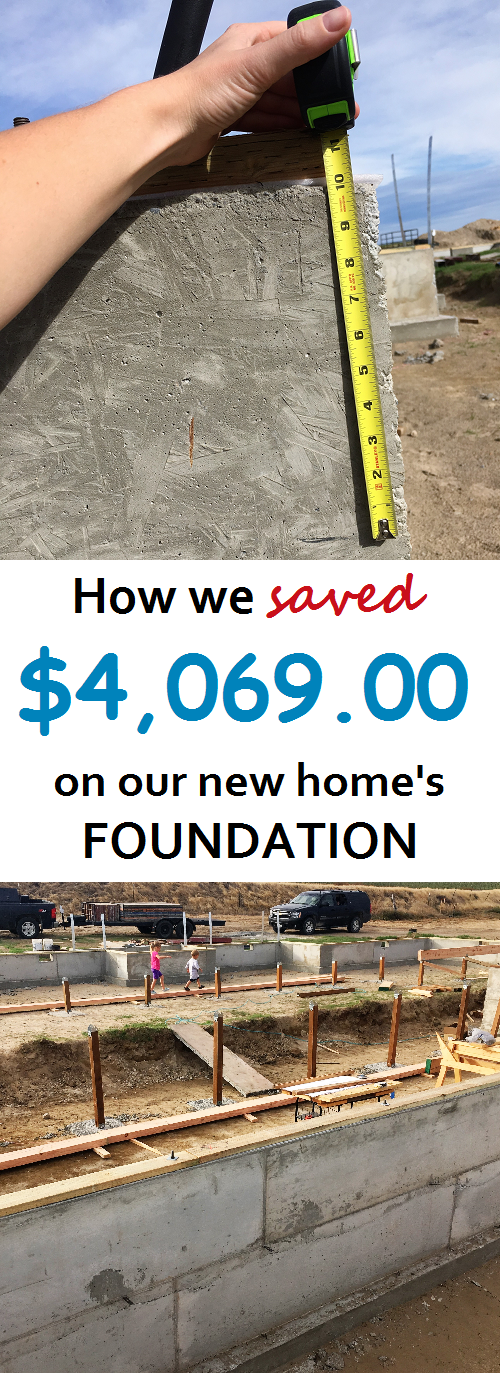
Sometimes it may not seem like $200 here and there is a big difference, but this is a perfect example of how several small money savings added up to a huge number. The total amount that we can account for on just this portion of our house is $4,069.00
Every little bit counts! That’s how we are saving $200,000 on our dream home. One dollar at a time.
Since this is the last step regarding the foundation, I created a FREE excavation and foundation checklist for you. It lays out everything you need to do, in order, from ground breaking day till now. It also includes how long each thing will take you.
Download your FREE excavation and foundation checklist right here.
Wishing you the best luck ever!
~Farmer’s Wife
CLICK HERE to go back to Step 16
If you need to go back to the beginning of the foundation steps, CLICK HERE to go back to Step 12.
or CLICK HERE to move on to Step 18
FREE checklists and schedules
Access to the resources I created that helped Farmer and I save over $75,000 building our own custom dream home.
Leave a Reply