Are you ready for a Step that is so easy anyone can do it? No construction experience necessary whatsoever!
This step can actually be done any time after your foundation is poured. It’s not super urgent, other than the fact that you can’t backfill the dirt around your foundation until it has been water proofed. You also don’t want to wait too long to lay the plastic down under your house because the moisture barrier is important there.
Water can damage just about anything so don’t underestimate the importance of moisture barriers.
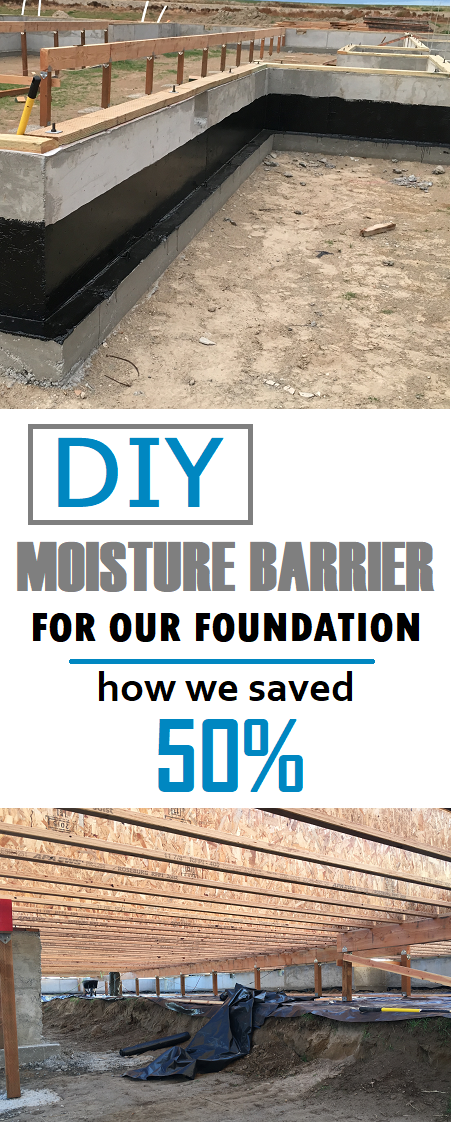
I was really excited to paint tar on our foundation because it was the first thing we did on our house without requiring some sort of instruction or assistance. Painting sticky tar on a cement wall? Sure, I can handle that no problem!
Farmer and I did the tar together for one day, and he ended up finishing it by himself the second day because we couldn’t take the kids down with us. No way was I letting my 1 year old near that sticky mess!
Then for the plastic barrier (that lays down on top of the dirt underneath your house) I did it all by myself. Well, I can’t even say that really ….. I did half of it and then was needed for other things so I didn’t get it all finished. But I WILL finish it all by myself unless Farmer gets sick of waiting for me to do it and finished it himself. That happens a lot since I always want to move forward to the next thing on the house instead of finishing the monotonous projects.
The plastic barrier is even a job that can be done with young kids. It’s not hard, and it’s not something that you can really mess up.
Now I know you are wondering about the money. How did we save $650 on our tar and plastic moisture barriers? I simply added up the hours it took for us to do it and determined how much it would have cost us if we had our hourly wage guys do it.
Actually, that is being generous too. Our hourly wage guys were super cheap. (shoot me an email if you want their contact information, they were awesome!) Any time we have to hire an actual company for something instead of our free lancers, they charge WAY MORE. Usually somewhere in the neighborhood of $1,500 a day. So if you look at it that way, we saved around $3,000.
This would be another great time to point out why you can build a house for 25-50% less if you owner build instead of hiring a general contractor. The numbers are so far on the opposite ends of the spectrum, you will want to throw up when you hear what some people charge for their time. I get it, I get it, they are professionals…. but that doesn’t make it any less painful for me to pay it.
So how about some instructions ….
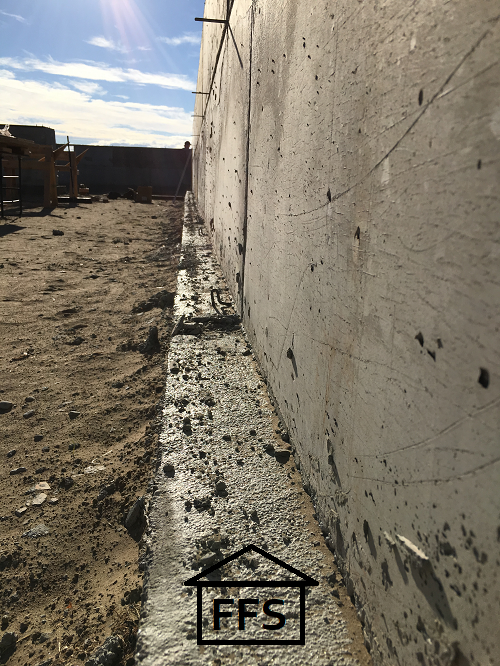
- Clean off your foundation walls. At this point your walls will be covered in tiny chunks of concrete that broke off when you removed the concrete forms. There will also be plenty of dirt everywhere, and maybe some screws or nails.
If you have kids this part is a great one for them to be involved in. Take a bucket around and pick up all the screws, nails, and sharp objects. As a general rule, it’s a good idea to pick these things up instead of just sweeping them into the dirt. It will save you from stepping on them, having holes poked through your plastic, and popping tires. However, that part is up to you. If you would rather step on nails then go right ahead and sweep them off with everything else.
Take the opportunity to remove any large rocks or pieces of concrete from inside your foundation walls, before you have a floor over your head. Just tossing the rocks over the foundation wall is another great kid job. What kid doesn’t love throwing rocks?
The reason you want to do this is that when you put your plastic barrier down later, you won’t want rocks underneath it. You will likely spend some time underneath your house in a few months, laying on your back putting up insulation, working on plumbing, electrical, HVAC, etc. The rocks hurt, and they can poke through the plastic barrier sometimes.
After all the large and pokey objects are removed, take a course broom around and sweep off your foundation walls. The exterior of the walls is where you will be painting, but you will want the interior cleaned off also. I didn’t spend a lot of time on the inside, just the really dirty spots. But the exterior needs to be clean enough to paint. Any left over rocks or dirt makes the tar harder to apply. Just a heads up.
2. Prepare your supplies. There are a few different products out there for water proofing your foundation walls. I believe the most common, at least where I am from, is just plain old tar. They sell it in buckets at any building supply store. If you don’t want to use tar for some reason, just ask the guys at the front desk what they recommend. They will probably have a few things to choose from.
So you will need tar (we used 2 buckets), and regular old painting supplies- A paint tray, a roller, a large brush, and REALLY fluffy roller covers. The more tar they will hold, the better. I would also recommend getting some tall rubber gloves, and maybe even some plastic booties to cover your shoes with. Farmer and I didn’t use either of those, but I wish we had. We didn’t really think about it before hand, but I feel stupid now that we didn’t.
I mean we should have known that the tar would be impossible to get off right?
Quick tip: To remove tar from your skin, use a small amount of gasoline. Rub well and the tar will come right off. Then wash again well with soap and water.
Once it gets all over the bottom of your shoes, those shoes will be completely worthless from then on. Consider yourself warned.
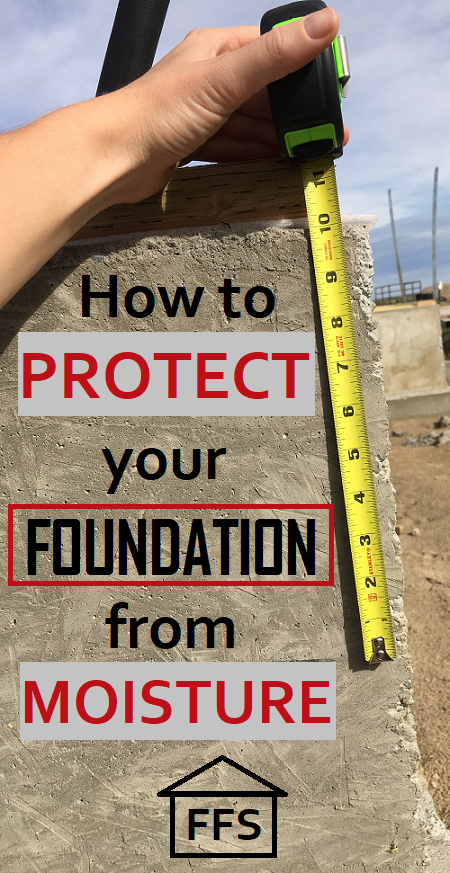
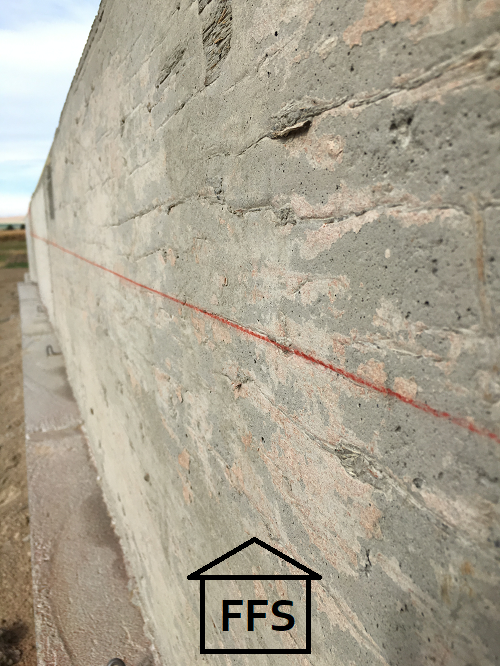
3. Measure and mark your line. You do not need to paint your entire foundation (unless you want to). Check your blueprints for this one, but a certain amount of your foundation wall has to remain ABOVE the soil level. This is for water purposes. If there is severe run off, or a flood or something, the water will go under or around your house instead of flowing straight inside. That’s a good thing.
You will want to decide what you are going to do with the exposed portion of your foundation. Are you going to paint it? Cover it with rock? Leave it just how it is? Whatever you decide may effect where you want your tar line to end.
Our foundation had to have 8 inches above the soil line. Because our house sat so high on our hill, we gave ourselves an extra 2 inches that wouldn’t need to be backfilled. Yeah, I know that’s not much, but it makes a bit of a difference when you are searching for more backfill dirt.
So we marked a line all the way around our foundation walls that was 10″ down from the top. We just used our trusty chalk line and it went really fast. Everything below that line will be covered with dirt, so that is where we will paint our tar.
4. Get messy! Paint your foundation with tar, just like you would paint something with regular paint only thicker. Pour it in the paint tray, glop up, and roll it on. Then fill in all the gaps and corners (you can do that in front of the roller or behind) with your paint brush.
Farmer and I each took a paint brush and a roller, it just worked out easier that way.
Cover EVERYTHING, and look out for large bubbles or flakes. This is meant to be a moisture barrier remember? So if you don’t lay it on there real thick, then you will have gaps or holes where the moisture can get in.

The best part about this painting job is that you don’t have to worry about being nice and neat. You can drip tar all over the dirt and it won’t matter!
Be sure to stop at your chalk line or you will see the tar after it’s been back filled. Farmer did good with those instructions, but I sure didn’t. TWICE I rolled the tar all the way up to the top of the foundation wall, oops! Luckily one of those ended up underneath our deck.
When we finished, we didn’t even bother trying to wash out the brushes or the rollers, we just tossed them in the garbage. Once you see how sticky and impossible the tar is, you can make that decision for yourself, but I would venture to guess you will do the same thing we did. I don’t even know how you would begin to get the tar out … maybe gasoline would work on that too?
Okay now on to part 2 of this blog post:
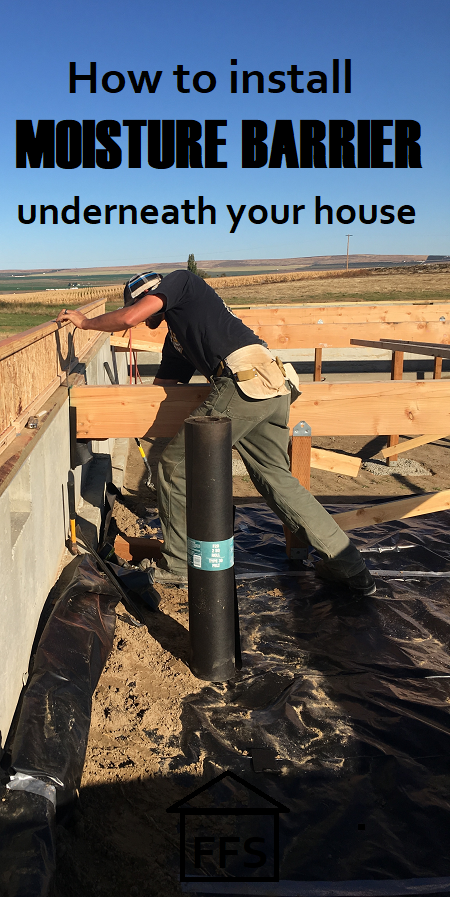
The moisture barrier, a.k.a. plastic, that you will be putting underneath your house is just another way to keep your house dry and healthy. Rotten sub floors are an awful thing to have to deal with. Mold is also terrible. These things are easily prevented with proper moisture barriers.
This time around we are simply laying plastic down underneath the house so that the sub moisture coming up in the dirt won’t evaporate up into your sub floor and rot everything out from the bottom.
It’s as easy as it sounds guys …. we are just laying plastic down and taping it all together. And remember, you already cleared out all the rocks and chunks of cement so you are basically ready to go.
- Gather your supplies. You will need enough plastic moisture barrier (found at any building supply store) to cover the entire ground inside your foundation walls. Get a little extra because you will be overlapping the strips a bit. This normally comes in rolls 100 feet long and 10 feet wide.
You will also need regular old duct tape. Never build a house without plenty of duct tape on hand! Might as well buy several rolls and get it over with cuz you will need them. Then you will need some scissors to cut your plastic and …… that’s about it. No wait, you will also want a shovel because you need to move some dirt.
2. Start on one side and roll the plastic all the way down to the opposite side of the house. Once you get to the end, cut the plastic off with about 12 inches of extra length. You need to weight down the edges, but you also don’t want to leave gaps. Let a couple inches of plastic fold up onto the wall, then use your shovel to set just enough dirt in the corner to hold the plastic down.
You could use rocks or bricks for this part if you would rather. We just used dirt because it’s already there and we didn’t have to go find, or buy, bricks to weigh it down.
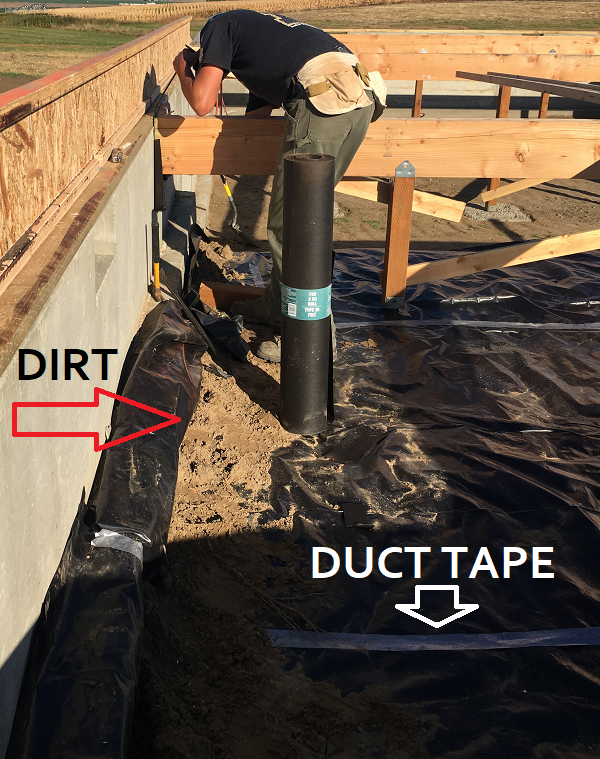
3. When you roll out your second row, duct tape the two together. You need to duct tape ALL THE WAY down the row. Yes, it is a ton of duct tape. But the purpose is to seal off the moisture so you can’t just put a few pieces here and there.
4. Repeat steps 2 and 3 until you have covered everything underneath your house. If you have jut outs or other odd shapes, just cut around them.
Remember- dirt or bricks around the edges, duct tape everywhere else.
Don’t mind the floor joists in this picture… I am a huge procrastinator and I waited to work on it until after we had most of the floor on. Terrible idea because then I was forced to whine to everyone that I had to hunch over to do my job. Farmer loves it when I whine. wink wink
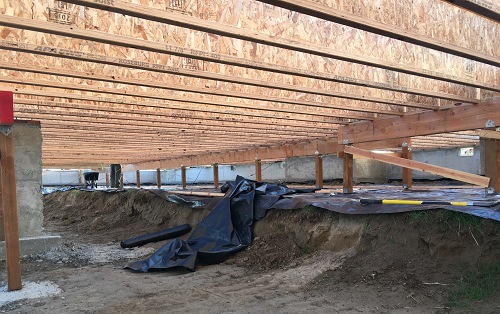
Now your foundation and sub floors will be completely protected from moisture in the ground. We will worry about moisture from above later. Always dealing with moisture I tell ya!
Cost breakdown:
Tar ………………………………………………………$78.00
Painting supplies ………………………………….$20.00
Labor ………………………………………………….. $0
Plastic barrier ………………………………………$320.00
Duct tape …………………………………………….$20
Labor …………………………………………………..$0
Total …………………………………………………..$438.00
Work breakdown:
# of workers ……………………………. 2 (Farmer and I)
# of hours (tar) ……………………….. 8 hours
# of hours (plastic) ………………….. 4 hours
Total $ saved …………………………..$650.00
These are two jobs I would absolutely recommend everyone do themselves. They are easy, and you can do them at your own pace. Not a big job, but sometimes those are the best ones to handle yourself! And like I said earlier, the few hours of labor we put into this job saved us at least several hundred dollars.
~Farmer’s Wife
Need to go back to Step 19? CLICK HERE
FREE checklists and schedules
Access to the resources I created that helped Farmer and I save over $75,000 building our own custom dream home.
Dear Farmer’s Wife,
I like that you mentioned in your house plans there were no instructions for a moisture barrier. Because neither do mine. Well, I drew my house plans, but when they were inspected by the County I wasn’t asked to add one. Before coming across your website, it was my sister who mentioned it to me as a good idea.
I “researched” the idea on Pinterest, ( one of the places I found you. ) and I think it is a great safety measure. Yet, I do wonder if it is a good idea or wasted money because I am in the High Desert of Arizona. We get rain, we get snow, but not TONS of it. I talked to a few people in town who have built their homes and none of them have used this idea on their home. So I guess, it is personal preference??
Maybe I should just call my County and ask. Because other wise, I will be like you, ducking and crawling under the floor boards whining. LOL. 🙂
I would ask the county yes, and I do think it is mostly personal preference. However, it was such a small price that it’s almost worth doing just to be on the safe side. That’s my opinion if you want it! I always try and overdo things if it isn’t a big expense or hassle.