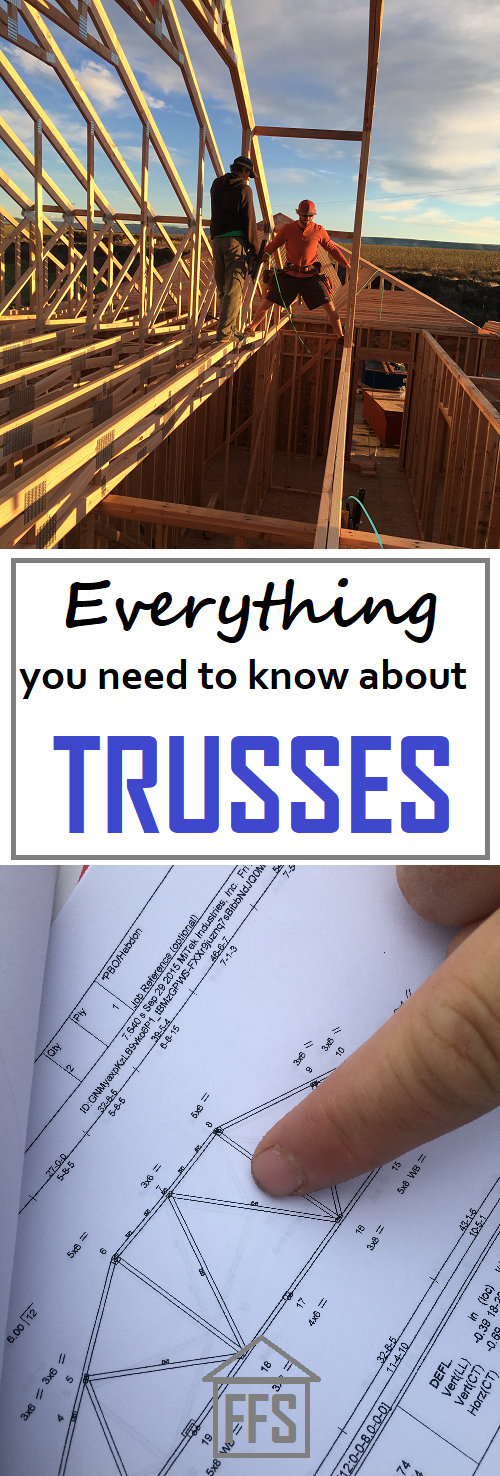
Step 25: Trusses
I will be honest, before I started researching how to be our own general contractor, I had no idea what a truss even was. So, for the sake of those of you who might be in the same boat I was, here is the actual definition of a truss:
“A framework, typically consisting of rafters, posts, and struts, supporting a roof, bridge, or other structure.”
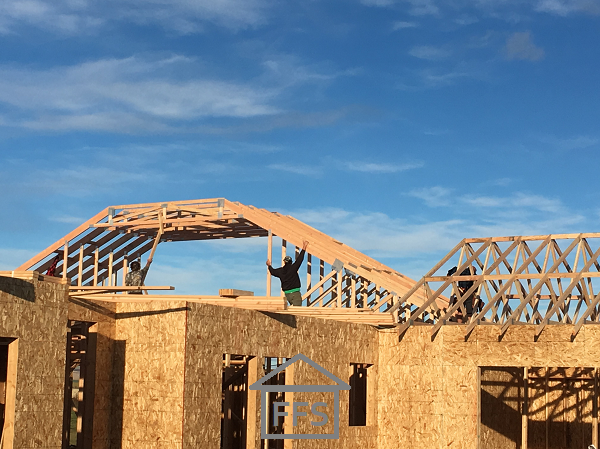
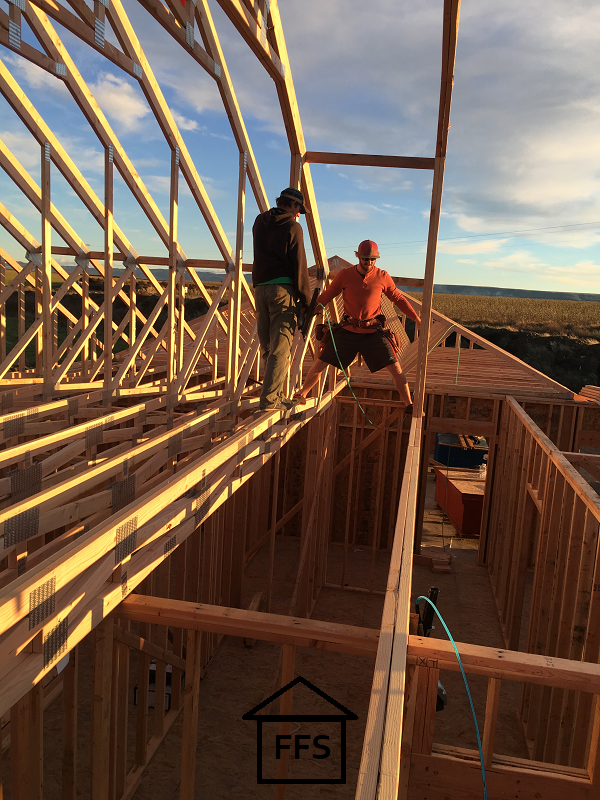
So, in the case of building a house, you may have floor trusses if you are building over a crawl space or if you have a second floor, and you will have roof trusses. We already went over how to build your floor, and framing up your walls, so today’s article will be all about the roof trusses. Here is what our roof trusses look like:
I have heard from a few people who have built their own, but most everyone I know purchased trusses from a truss manufacturer. You have to be super careful with trusses because they have to be engineered in a way that can support your roof, the wind, snow load, etc. Many building departments require your truss plans to be turned in so they can make sure they are designed properly.
If you don’t know what you are doing with trusses, then I wouldn’t recommend designing your own. That being said, I believe anything can be learned! So if you are willing to take the time to learn and research the right way, then go for it! It will be a big and important job though, so be prepared.
One thing you need to do before you go ahead and order your trusses is chat with your framer. Some framers will want to order the trusses, others will want you to order the trusses. That is something you can work out with him. Even if he is ordering the trusses though, it’s your job to make sure everything is correct, the dates work for everyone (including you), and that you aren’t going to have any big problems that could have been avoided. So keep reading either way!
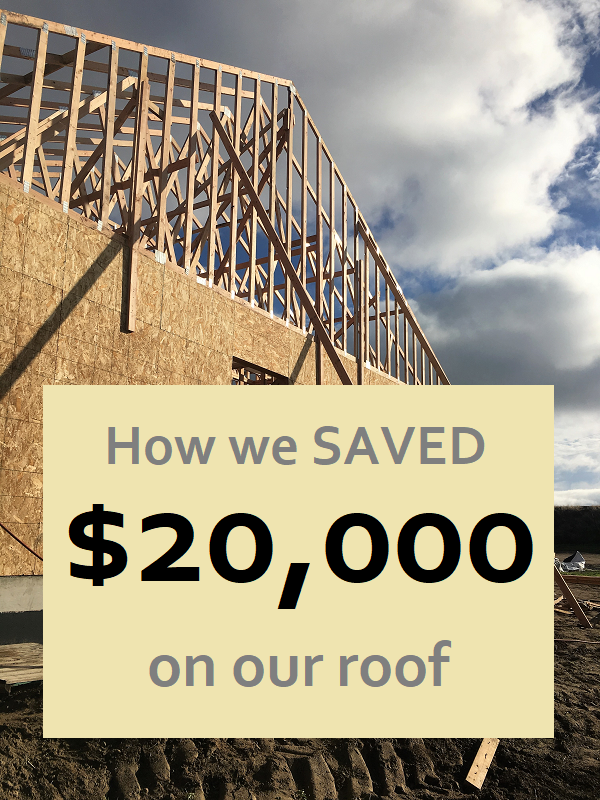
If you are ordering pre-made trusses (Yes you are, unless you plan on building your own), the first thing you will need to do is find a truss manufacturer. Be sure to get estimates from at least 3 companies in your surrounding area. Our truss quotes were everywhere from $13,000-$30,000. If we had gone with the first quote we received, we would have paid an extra $15,000 for our trusses.
Here is what you need to talk to the truss companies about:
- You need a detailed estimate for trusses for your new house. Ask them to please separate the cost of the trusses and the cost of the delivery.
- Tell them where you are located and ask them if they deliver to your area
- Tell them approximately when you will need them and ask if they will be able to have them done at that time
- Ask them what you need to provide them to get an accurate quote (emailing a set of blueprints probably is just fine)
Once you know they are available, deliver to your location, and are willing to give you a quote, ask them when you should expect to receive the quote. Then give them plenty of time to get that all put together for you.
If you would like to read more about my specific hiring process which has saved me tens of thousands of dollars, CLICK HERE.
When you have received plenty of quotes and narrowed it down to the one you want, you need to make sure of a couple of things:
- Make sure they plan on coming out to your house to double check the measurements for your trusses once the floor is built and/or the walls are framed up. Sometimes things happen and your walls don’t end up exactly how your blueprints show. The worst thing that could happen is for your trusses to show up and be off. The truss company will NOT be responsible if that happens and you will have to pay for another set of trusses. It is your job as a general contractor to ask them to please come out and measure the actual house as it is being built.
- Ask the guy to walk you through the delivery process. You will need to make sure you have enough room for the semi and boom to get up to your house to set the trusses on top of your walls. If they can’t get in there, or don’t have a flat area to stabilize the truck, they will be forced to set the trusses down on the ground. Then YOU will have to find some way (rent a crane probably) to get the trusses up on top of your walls. This will be very expensive and incredibly difficult.
- If you live in a windy area, ask them what they will do if on delivery day it is too windy to set the trusses.
Another thing that is your responsibility as an owner builder is to carefully look over the truss plans and the quote.
When we received our quote, we also received an entire packet of papers that detailed every size and type of truss they would need to build for our house. They were very difficult for me to understand and I didn’t really know what I was looking for.
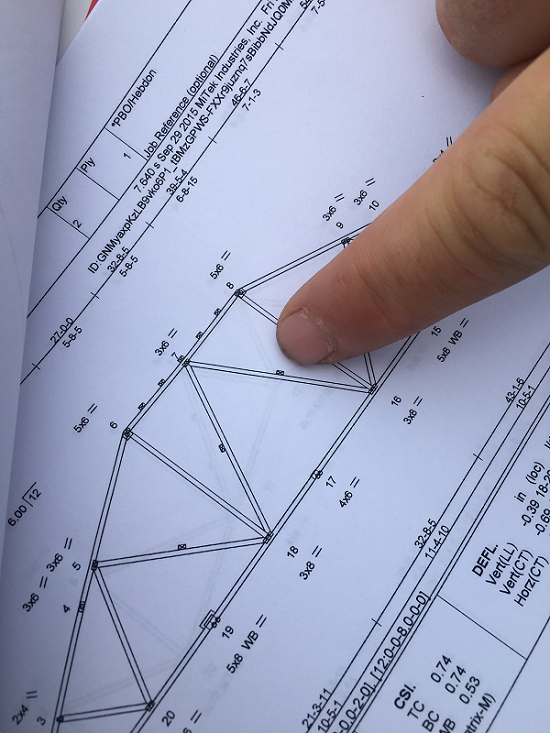 It’s perfectly fine to ask them to help walk you through the truss drawings and specifics. Just make sure to have all of these important points written down because you need to make sure your trusses are coming properly built. You are the one who knows your home best.
- Check that the roof pitch is correct. It may not be the same pitch everywhere, so if your roof pitch changes then you need to double check that is correct on the trusses.
- If you are putting a bonus room inside the trusses you need to make sure it’s the correct size and location.
- Check that the ceiling height is correct throughout your house. Meaning if you have vaulted ceilings make sure they start and end where they are supposed to. Make sure the peak is where you want it. Make sure if you need any adjustments for a coffered ceiling they are correct.
- If you are having any exposed beams, make sure these are included and in the correct spot.
- Make sure the roof overhang all the way around your house is the correct size. Standard size in my area is 18 inches, but you may want a deeper or shallower roof overhang.
- Are you putting in any skylights? Make sure the truss guy knows the exact size and location of the skylight, so they are placed correctly.
- If you are going to have any extremely heavy light fixtures, or any other things hanging from your ceiling (swing?) it should be discussed with your truss supplier. They can tell you if your trusses will be able to carry the load or if you need a little reenforcing in that spot.
If you take the time to go over all of these things with your truss supplier, then you can be confident that your trusses will be exactly what you need when they show up. Trusses are a big deal and you do not want to get them built improperly! They are not an easy fix if they are built the wrong way. These things are huge and expensive and custom built. Take the time to be sure!
Exposed Beams
Just a quick note about exposed beams. The look of exposed beams is extremely popular right now. I wanted them in my house, and always just assumed it was as easy as putting the drywall up higher as to not cover them. This is NOT the case.
Trusses are built out of regular 2×4, 2×6, and 2×8 boards. They attach them together with glue, nails, and metal plates to make them extra strong. Their strength comes when you tie them all together with blocking (more 2×4’s in-between them) and when you sheet the roof with plywood or OSB.
Trusses are not pretty. They aren’t necessarily built to be seen so they don’t bother to make them look nice. Even if they took the time to wipe off the excess glue or make the metal plates perfectly straight, they would still be a hodgepodge of lumber hooked together. They are in no way, shape, or form, pretty like the large wood beams you see all over Pinterest.
I didn’t know any of this, so when I called the first truss company I told him that I wanted beautiful exposed beams in my great room. He hesitated for a second, and then asked me if I knew how much that would cost. After a bit of explaining on his part, I learned that it would require them to replace the cheap building lumber with enormous beams large enough to span my great room. These puppies are incredibly expensive. In order to have those beams put into my great room it would have added around $10,000 to our truss bill.
Sooooo ….. beautiful exposed beams moved quickly off of my list of optional upgrades.
If exposed beams are on your list of wants, then I absolutely encourage you to talk to your truss manufacturer about it! However, I also want you to be prepared for the extra expense that it will probably have. Maybe in your area, beautiful huge beams are cheaper. But for me, the cost was so high that it quickly got wiped off our list of possibilities.
A cheaper option that Farmer and I are considering for down the road are fake beams. They look almost as good, and provide the same effect, for a lesser price tag. I’ll let you know if we ever get around to putting those in!
Order Your Trusses
Now that you have all that stuff figured out, it is time to order your trusses. Yay! Make sure that you, your framer, and the truss manufacturer are ALL on the same page! Everyone needs to agree on the dates and the delivery specifics.
In case you haven’t heard me say it before, DO NOT PAY THE FULL PRICE until the work is done. A truss manufacturer may likely require half down, but if they ask for the full payment ahead of time, tell them you are not okay with that. There is no reason they should require that, and if they insist, then find yourself a different supplier. This goes for all trades guys.
Now you are all ready for your trusses. Here is how things will go:
First, your house will need to be prepped for your trusses. Mostly this is a whole lot of measuring and marking. I will write a complete post on this right here:
PREPPING FOR TRUSSES
Next, will be delivery day. It may take an hour or it may take all day for your truss delivery. That mostly depends on the size of your house and amount of trusses, but it can also depend on the delivery guy and your framer. I will write a complete post on this right here:
TRUSS DELIVERY DAY
After that, a few days will be spent “rolling trusses”. This is the process of taking the trusses that were set up on top of your house and “rolling” them into the standing position. Then bracing them all together, securing them, and adding blocking so they stay put until you have a chance to sheet the whole thing with plywood or OSB. I will write a complete post on this right here:
ROLLING AND BLOCKING TRUSSES
This is just another big giant step that I truly loved seeing completed. The truss step was incredibly fun and exciting. Farmer and I got to be a part of a lot of it, and we got to see the top half of our house coming together!
Now for the cost breakdown
After comparing prices and looking at several different companies we chose a manufacturer with a fairly low price and excellent reviews and customer service. However, they were extremely busy and when we got close to the time we would need our trusses, we found out they would not be able to do it in the timeline we required.
By some miracle, we were able to find another company last minute, who was willing to beat their price and could do it on our timeline. That doesn’t usually happen guys! Anything you are forced to do last minute usually ends up costing you a lot of money.
This new company did a great job and I was thrilled with their customer service. If you live Washington State, be sure to look into Pro-Build out of Tri Cities, WA. Ask for Matt. He was great to work with and very fast.
Our trusses from Pro-Build, which covered an area of a little over 5,000 square feet, delivered, cost us $14,645.27
All other materials and supplies for our roof cost us $2,701.54
The labor for the entire “lid” of our house, which includes prepping, rolling, and blocking trusses, and also building all the barges and overhangs, and sheeting it, (all of this done by our framing crew Josh, Matt, and Mikey, and occasionally Farmer and I) cost us $11,193.46
So the total cost for our trusses and also the rest of the framing necessary to get ready to roof it was ………$28,540.27
You can download the complete cost breakdown of our house so far right here:
Now how did we save money on this part of our build?
The biggest way we saved on our trusses was by shopping and comparing prices, and by asking the company to beat the price. We saved approximately $15,000 from the first quote we received to the price we actually paid.
We also saved a few thousand on labor by hiring our crew by the hour and by putting in some of our own time, but I included that number in my framing post so I am not going to double up on savings here!
And finally, (a number I keep forgetting to include in our savings breakdowns but is absolutely legitimate!) is the amount we save by me being our general contractor. General contracting fees in our area average 20%. So by being owner builders and acting as our own general contractor, we automatically save that amount. 20% of $28,540.27 is $5,708.05 in additional savings. Woot, woot!
That’s more than $20,000 saved on the truss portion of our house.
How have you saved money on this part of your house??
If you need to go back to step 24, CLICK HERE
If you are ready to move on to Step 26, CLICK HERE.
~Farmer’s Wife
FREE checklists and schedules
Access to the resources I created that helped Farmer and I save over $75,000 building our own custom dream home.
Leave a Reply