Get cozy, and grab your favorite drink folks, because this article is going to be a beast.
Framing up a house is no small task. Of all the things we have done so far on our house, framing is still the most overwhelming one to me, and Farmer and I didn’t even do it ourselves. The biggest reason that it is so overwhelming is because of the wide variety of things that have to be figured out and executed.
In any given house you will probably have windows, doors, walls, and stairs. But then you might also have fireplaces, several extra load bearing points, decks, crawl space access, attic access, built in shelves, shower enclosures, and so many other things. The list can go on forever because every house is different, and every house contains so many of these tiny little details. Even a simple and rectangular house like mine has hundreds of things that are unique to my home.
So I am going to set this article up a little differently than the other ones so far. I will go over the framing process, just like the other steps we have discussed. And then I will add in links to articles about each individual job contained within framing. That way you will actually be able to navigate this insane amount of information.
Technically, we have already discussed some of the steps that your framer would handle if you are hiring one. Here are the articles I have already written that would fall under the umbrella of the “framing sub contractor”:
Step 19: Support beams for floor joists
Step 22: Rim board and sub floor
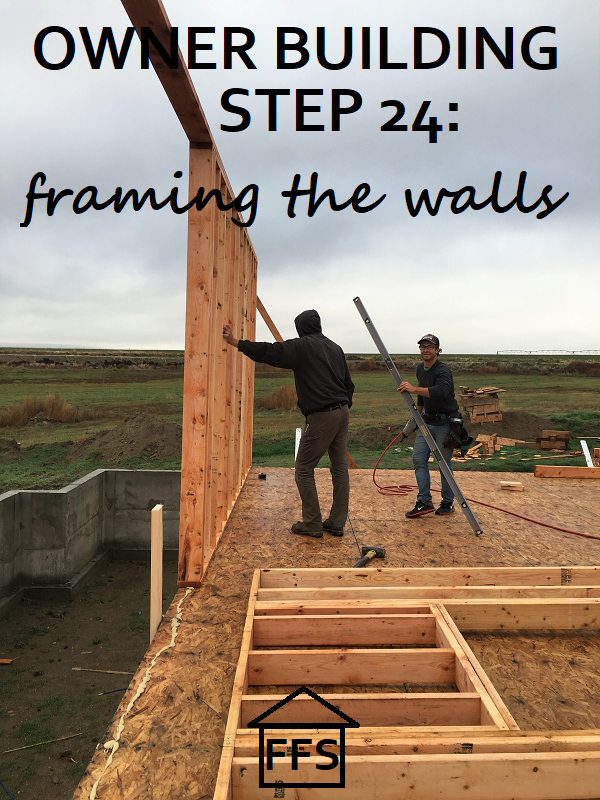
and Step 24: Framing the walls (part 1)
So now we need to continue from there and go over the layout and the exterior and interior walls and sheeting.
As you may know, Farmer and I hired a makeshift crew for almost the entire first half of our build. A friend of my brother’s from 3 states away came up to be our “Foreman” and teach Farmer and I what to do to build our own house. His name is Josh, and he had worked as a framer down in St. George, Utah. Josh grew up around building though, and had experience with just about every aspect of building a house so we decided to just have him help us with everything from day 1 until we were “dried in”. (dried in means all framed up, the plastic barrier is on the outside to keep moisture out, the windows and doors are in, and the roofing material is on.)
Then later we brought up another friend of his, Matt, who stayed for a couple of months. And finally, Mikey (another friend) joined us for the last month or so.
Farmer spent several hours a week helping out with the framing, but there were plenty of days where he wasn’t able to come help because of farm work. And the kids and I were there at least once a day to check up on things and see what needed to be done. We helped out a little on the house, but mostly we just ran to town several days a week for whatever supplies and materials we needed.
So, for the layout and the building of the interior and exterior walls, we had 5 different adults working at all different times. Some days all 5 of us were there, and other days it was just Josh.
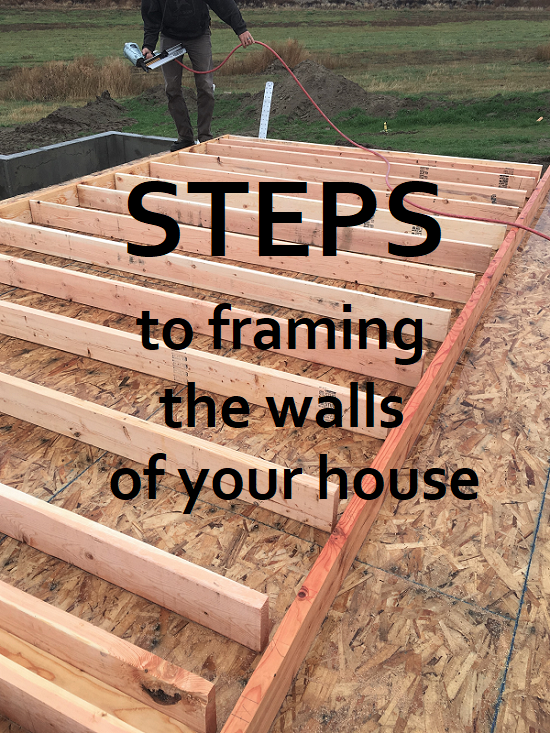
LAYOUT
The first thing to do was what Josh called “layout”.
If you just start in a corner and figure things out as you go along, you are very likely to end up with measurement problems at the other end. To fix this problem, you need to measure out and snap/draw lines for every wall going up in your house. Remember, measure and re-measure ALL THE TIME. It may seem tedious, but it’s a lot easier, and less expensive, to move lines drawn on your floor than it is to move walls later on, or try and figure out how to fill a 1 inch gap somewhere.
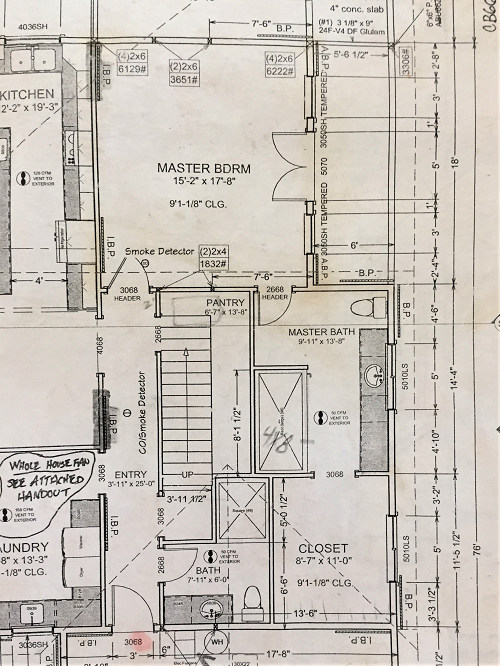
You will need to refer to your blueprints over and over again during this time. Double check everything. Grab a very large measuring tape, a construction pencil, chalk line, and a partner. Then mark every single wall and doorway going on that floor of your house. Mark both sides of the wall, not just one line. So they will look like this:

As you work through it, you will be able to see if your measurements are off at all or if anything needs a little adjusting.
I will write an entire detailed post on layout, and link to it RIGHT HERE.
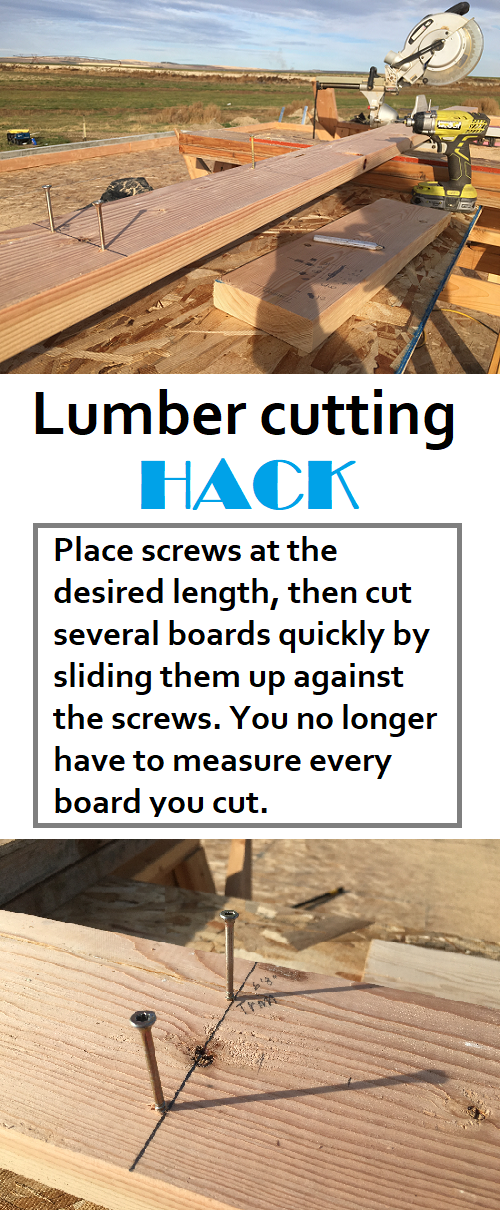
PRE-CUT
The next thing we did was pre-cut most of the boards. If you purchased “wall size lumber” from your building supply store then you will have a lot less cutting to do. They sell 2 x 4’s and 2 x 6’s in the exact height you need for a standard size wall. Then you don’t have to cut every single board to size. However, you will have to cut the boards that will be going horizontally, and all boards for doors and windows, headers, etc.
You do not have to pre-cut all of your boards, but it is more time efficient to do one task at a time and finish it before moving on to the next.
First, Josh went through and counted how many of each size board we would need and wrote it all down on a piece of paper.
Then, Josh set up the saw and table in the middle of the house. He picked a specific size and cut that amount of boards. Doing all the boards of the same size before moving to the next size saved a TON of time. He placed a board or screws at the exact length so he could quickly grab a board, slide it into place, and cut. This eliminated the need to take out your measuring tape for every single board.
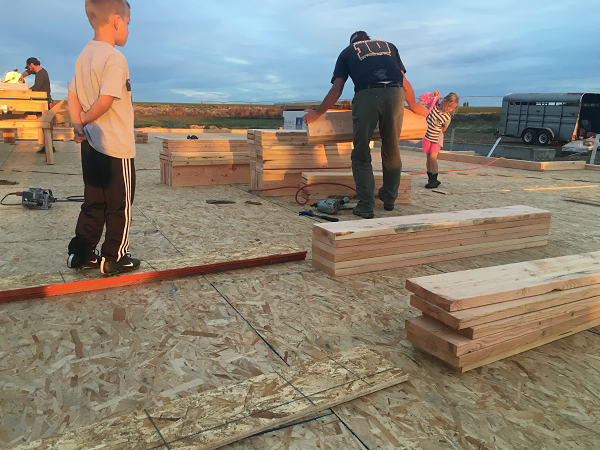
Once all the boards were cut, he placed each one near where they needed to go on our house. So when he was all done pre-cutting, we had neat stacks of wood placed all around the house, ready to assemble the walls.
EXTERIOR WALLS
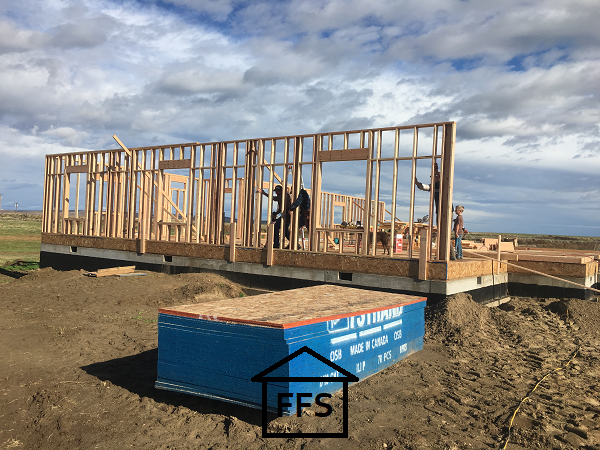
After layout and pre-cutting was finished, it was finally time to build the first wall. Halle-freaking-lujah!
We began with the exterior walls. I am not sure if it is always done this way, but it helped us to do the exterior walls before the interior walls in two big ways:
- You can put your trusses on as soon as all of your exterior and load bearing walls are in place.
- You can build the exterior walls, put the sheeting on them, and be protected from the wind while you work on the interior walls.
Grab all of the pre-cut lumber for your first wall, assemble it laying down on the ground, then stand it up into place and brace it well with a few other boards. You don’t want one of your heavy walls falling down!!
Work your way around the exterior walls, and you will have a shell before you know it!
EXTERIOR SHEETING
Some people actually put the sheeting on the walls before they stand them up, which you can certainly do. In my opinion though, it seemed easier to wait until all the walls were up because the sheeting needs to overlap in a lot of places. The sheeting really solidifies the walls and need to be placed in certain places. Pay extra close attention to your blueprints for this. Ours showed specific spots where full boards had to be used and nailed a certain way.
Even if you have hired a framing sub contractor, you need to check these places because if not done correctly, your walls will not pass inspection. Your blueprints will specify this, just look them over thoroughly with your framer. Even if you don’t know what you are supposed to be looking for, you can ask your framer to show you where the reenforced walls and specific nailing patterns are. Then at least you will know that he saw them!
After your exterior walls are all sheeted, you will have something that resembles a house. Yay!
I will write a detailed post on framing and sheeting the exterior walls, and link to it RIGHT HERE.
INTERIOR WALLS
If you have a big enough crew helping you out, then the interior walls can be built at the same time as the exterior sheeting. It is likely that if you are doing the work yourself though, you won’t have enough people for that. So, once your exterior walls and sheeting are finished, you can start working on the interior walls.
Most of the time it will be just like the exterior walls, in that it’s easiest to build them laying down on the floor and then stand them up into place. However, as you build, you will have less and less space and may need to get a little creative. You can build a wall in an open area and then carry it to where it needs to go as long as the wall is small enough to be moved that far. Or you can build it in place.
Again, be sure to check your blueprints often for reenforced places, specific nailing patterns, or things that need to be done a specific way. If at any point you have specific questions about what it on your blueprints, you can always call the local building or planning department and they can help you understand what it required.
EVERYTHING ELSE
Now here is where it gets really tricky. Literally every single home (except tract houses that are built all the same) has a different checklist of things to do to finish framing. This is because every house is different. That’s a good thing! But it makes it near impossible for me to tell you what to do next.
Perhaps you are building another level on top so you need to put in some stairs and then start all over again with floor joists, walls, and sheeting. Maybe you have a fireplace which needs to be framed out. Or perhaps you have pocket doors which require a different style of framing around them.
Every home is unique, every single wall and doorway is different, so referring to your blueprints through this whole thing is imperative. They are obviously your instruction booklet and must be followed.
So for this section, I will list the specific framing things we did in our own house and write individual posts about them. That way you can skip over the things which will not be in your own house, and read more detailed articles on the things that will be.
POSTS AND BEAMS
STAIRS
FIREPLACE
POCKET DOOR
RE-ENFORCEMENT STUDS
BACK DECK
And I wrote a little article on a few things you do NOT want to forget while framing up your house that you can read HERE.
Even if you are hiring a framing sub contractor, you still need to educate yourself on all of the things going into your house. Do as much research as you can, but also talk to your sub contractor as much as possible. Let him know that you want to learn and would really appreciate him explaining things to you. Not only will it help you catch mistakes or problems quickly, it will also give you the peace of mind to know that everything is as it should be on your house. A simple 5 or 10 minute conversation can alleviate a whole lot of stress in this whole process.
MONEY
So, you know the steps that go into framing up the walls of your house, and you know what you need to talk to your framing sub contractor about, let’s talk about the money shall we?
First of all, framing spans such a huge part of your build that if you are hiring a sub contractor or doing it yourself, your cost breakdowns will look VERY different. Hiring a sub contractor may just have a supplies and materials total, and a labor total. It may include the windows, doors, and trusses, or it may not. That is your job to discuss it with your sub contractor.
The same thing goes for “take-offs”. Every company does them a little different, and it’s up to you how much you want to include in your take-off from any given company. Generally, they include all lumber, floor trusses, screws, nails, hangers, and other hardware pieces. But many companies will also include windows, doors, house wrap, even siding and roofing supplies. Make sure you know what you are getting.
If you are doing the framing yourself, you will literally have pages of cost breakdown. You will have everything from the post holders under your house, to the little clips that go in-between the sheets on the roof. You should also have time estimates, and a calendar plan to follow. All of this is directly related to the money.
Now, I already wrote up a cost breakdown for everything we spent in order to move into our house. It includes the breakdown for the cost of building the floor of our house, the walls, and the roof, and all the labor associated. You can find this full cost breakdown on the checklists, schedules, and printables page HERE if you are already a subscriber. If not, you can enter your email here for immediate download:
But, there are a few things I want to point out on there.
The total cost for framing up our 3,946 square foot home, plus 754 square foot attached garage, and 824 square foot covered deck was $68,546.52
This does NOT include any doors or windows or the house wrap.
I estimate that between comparing take-offs, price matching as much as I could, and negotiating things like free delivery, we saved approximately $2,500.
Of that total, $24,096.86 was spent on labor. I did not include the time Farmer and I spent working on it in the labor total. This is strictly what we paid our 3 framing guys on that portion of the house.
The labor quote I received from a framing company in my area was for $41,000
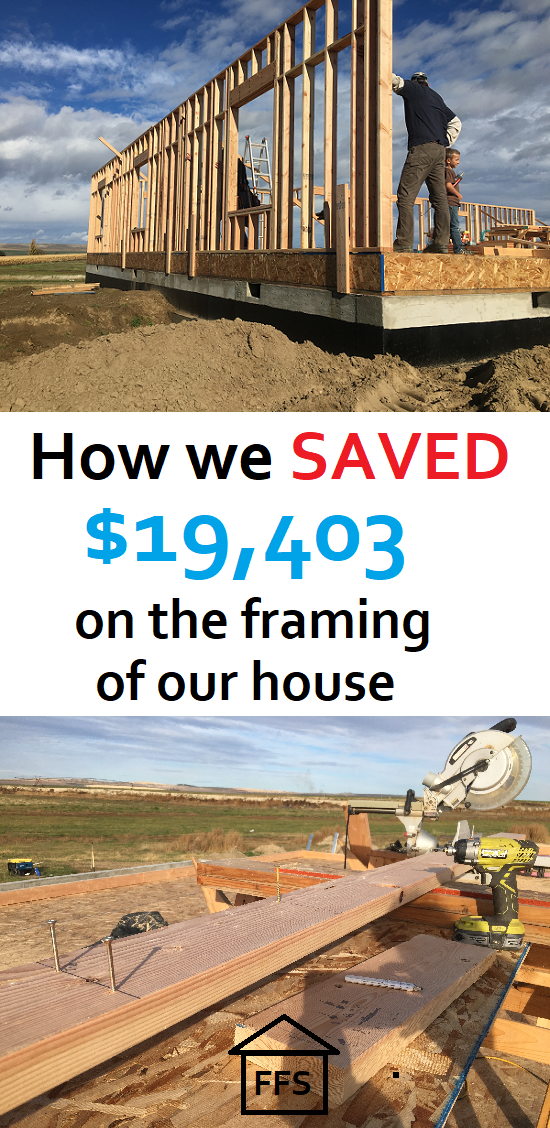
By putting together our own crew, paying by the hour, and doing some of the labor ourselves (not much labor honestly) we saved $16,903.14
Add that to the $2,500 we saved on materials and delivery and we have a grand total of $19,403.14 saved.
We worked on the framing portion of our house in October, November, and December. The framing company estimated it would take them 6-8 weeks. So we added a little over a month by doing it our way.
SAVING MONEY
My number one reason for choosing to owner build and be the general contractor for our home was to save money. I have many other reasons for it now, but this was the driving factor for us. So I like to be very open and candid about how much money can be saved and good ways to cut down on costs.
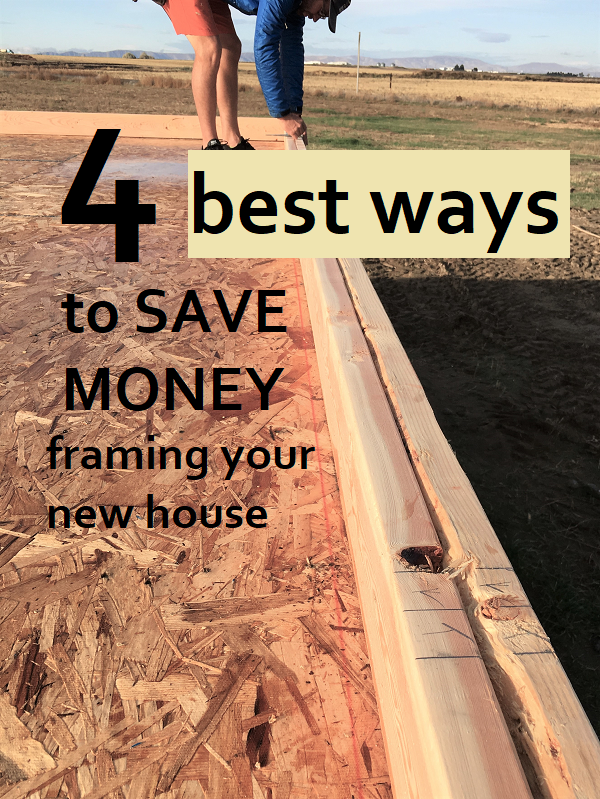
As far as framing goes, there are a lot of different ways to save money. Here are my favorites:
- Start by closely comparing take-offs. This is very difficult for someone who doesn’t know what anything on their take off means, trust me I know! It can be maddening to try and decipher it, but it needs to be done. Do not just look at the total and assume it’s the best quote. You have to look at how many of each item they quoted you for, what they included, how detailed they are, what their delivery fees are, and what they will do for you if they don’t have what you need when you need it. This will take some time, don’t get discouraged!
- Negotiating prices. It’s a lot easier to find finish materials at close out prices than it is to find building materials. They don’t mark 2 x 4’s on clearance just because they have been sitting there for a week and haven’t sold. So in order to get the best prices from a building supply store, you have to be willing to price match and then discuss it with your supplier. Most places will price match. If they won’t, then you can just as easily call your back up supply company and get that particular item from them instead. Again, it takes a little time, but it will result in big savings.
- Compare hiring by the job and hiring by the hour. It’s not always the case, but in our experience it was almost always cheaper to hire someone by the hour than it was to hire them by the job. Just simply ask them what they charge by the hour and how many hours they anticipate it taking. Some companies will not give you these numbers because they don’t quote jobs that way or because they don’t have an hourly charge. That’s okay! If that happens, just ask them how long they anticipate it taking and how many guys they will have on your job. Then you can take their labor quote and do the math yourself. When Farmer and I did this, sometimes it would come out to astronomical numbers like $320 an hour per guy. That’s when we would try and find someone who would work by the hour instead of the job. No one will give you a quote that says they charge $320 per hour, that’s why they quote by the job. Just know your labor prices! Don’t accept a ridiculous price just because you think it’s the only option. It’s not!
- Consider doing all or some of the work yourself. This is not always an option, at least not always a good option I know. Remember to realistically consider how LONG it will take you to do the job too before deciding to do something big like framing your entire house. I LOVED the agreement we had with our framing guys so we were able to come work whenever we could, but we weren’t expected to be there helping. We saved a little money by providing labor when Farmer’s job allowed. We also got to learn and be a part of building our own house, which I loved! And we saved a lot of hours of paying someone, by always having me make the runs to town to pick up supplies. Again, there are options, so try and explore them all before deciding what you will do for labor.
I have said this before, but I will say it again, finding building supplies at second hand stores is really tough. Finish materials are all over the place if you look, but things like lumber and hardware are significantly more sparse. Don’t get discouraged if you look and look and can’t find these things for next to nothing.
That is one reason I created Scratchlist. I found it really frustrating that I couldn’t find these things. I knew they were out there, but I also knew that people didn’t have a good place to sell them. Nobody wants to give their perfectly good lumber to a thrift store. But at the same time, trying to sell three 2 x 4’s probably won’t be very successful.
In the near future I will be able to start purchasing these left over building supplies from you so that you don’t have to go through the trouble of trying to sell them. Then I will be able to group people’s things together and offer them to other owner builders at a much discounted price. For now though, Scratchlist is just starting out and is being used as an owner builder buy sell trade.
You can CLICK HERE to visit it and see what is being offered this month.
In case you didn’t check it out earlier, you can download the complete cost breakdown for my house right here:
To move on to Step 25 CLICK HERE
~Farmer’s Wife
P.S. Josh, Matt, and Mikey did a wonderful job framing our house. Josh is very interested in sustainable building projects and just finished building a straw bale home in Utah. If you are interested in potentially hiring any of them for a project (especially a sustainable build) and would like their contact info, just send me an email at farmerswife@farmhousefromscratch.com and I will get it right over to you.
Leave a Reply